As a home baker, I’ve tried to figure out the best ways to store flour to keep it fresh and ready for use. With so many types of flour available, from all-purpose to whole grain and nut flours, it’s important to understand how to store them properly for optimal freshness and flavor.
Over time, I’ve discovered some different storage ideas that can help prolong the life of flour and prevent it from going bad. (Or even worse, having your flour and your entire pantry taken over by pantry moths!)
I’ll share these seven storage ideas with you, and together we can make our baking experiences even better by keeping our flour fresh and flavorful.
Check out our entire storing grains at home series!
Storing is a critical part of baking and cooking. Without proper storage, grains can easily be lost to rodents, bugs, or they can go rancid, ruining your investment.
This is one-part of a three-part series on proper storage:
- How to store flour (this article)
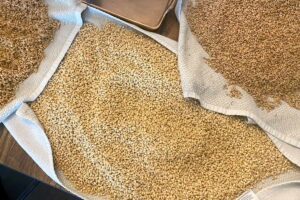
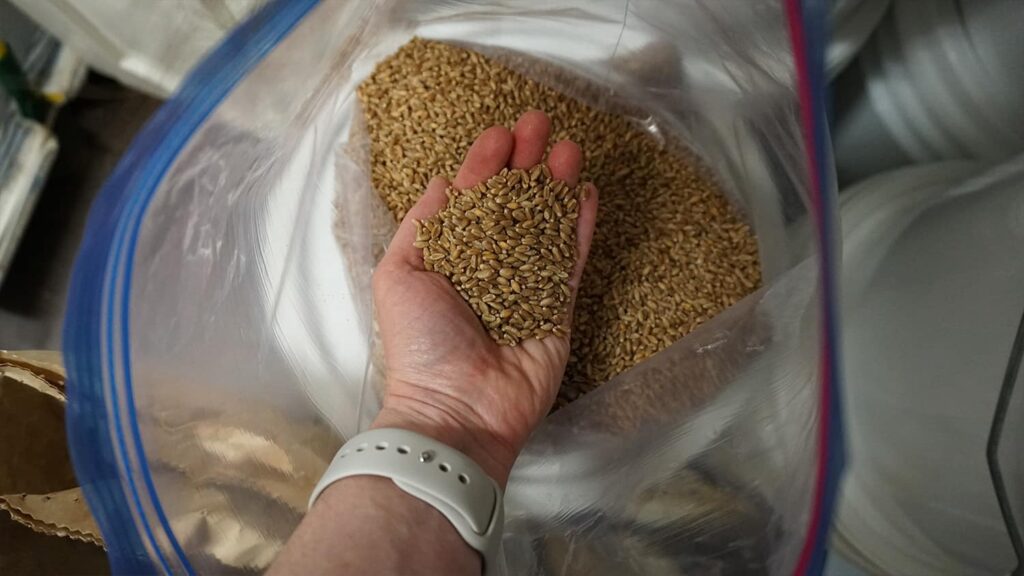
- How to store whole grains: When stored intact, whole grains (the entire wheat berry or psudeograin) can last indefinitely. I share my tips on how to keep your grains free of moisture, pests, and heat
- Creating a working pantry system for flour and whole grains: I share the details of how I rotate through and store my grains to ensure I keep them safe and prevent them from going rancid
Understanding flour types
When it comes to baking, it’s important to understand the different types of flour is essential in achieving the perfect result. There are several types of flour, each with its own unique properties and uses, which means they each have special considerations for storage.
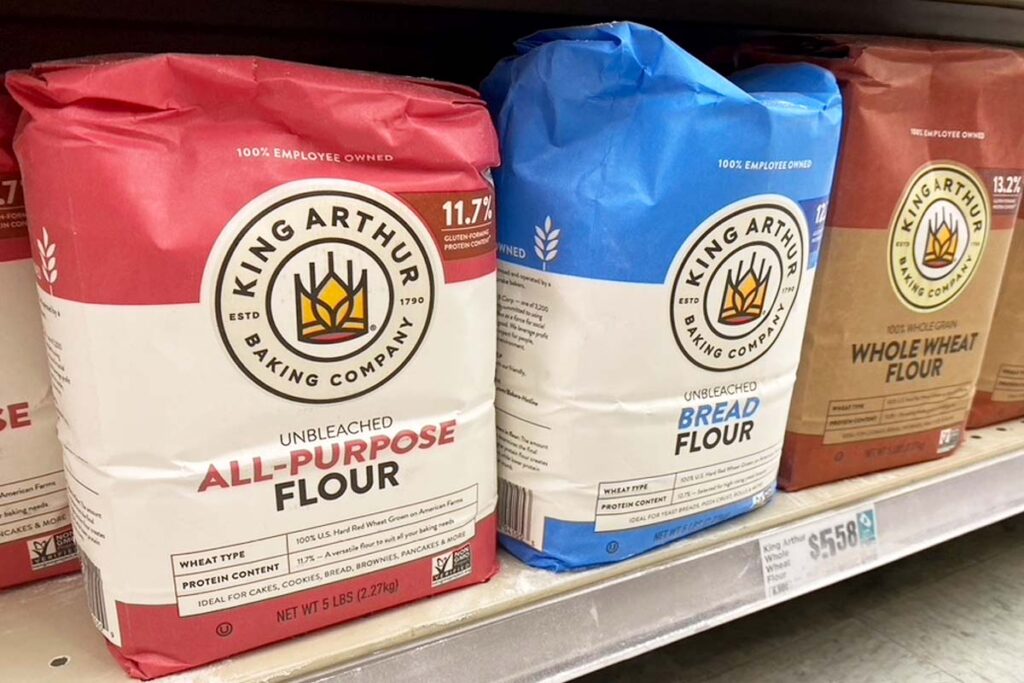
- All-purpose flour. This is the most common type of flour and is made from a blend of hard and soft wheat. Its versatility makes it suitable for a wide variety of recipes such as cookies, cakes, and bread. White flour is another name for all-purpose flour, and it has the bran and germ removed, which gives it a lighter texture and longer shelf life. (More on all-purpose flour here.)
- Whole grain wheat flour. Whole grain includes the entire grain – the bran, germ, and endosperm. This means that whole grain flours, like whole wheat and spelt, contain more natural oils, nutrients, and fibers compared to white flour. They have a much-shorter shelf-life and can go rancid.
- All-purpose wheat flour. Most wheat flours on supermarket shelves are all-purpose versions and have some of bran and germ removed, making them more shelf-stable. It’s hard (if not impossible) as they are marketed as whole grain but are not a true whole grain since they have had parts of the grain taken out.
- Gluten-free flour. Quinoa, millet, amaranth, and buckwheat flours are excellent gluten-free alternatives but are mostly seeds, not wheat. This means they can have a longer shelf life than whole grain wheat flours.
- Rye flour. Rye flour has a strong, earthy flavor and is commonly used in making traditional rye bread and sourdough recipes, but it has it’s own considerations when it comes to storage. Whole grain rye flour should never be stored on a shelf, but in the fridge or freezer because its shelf-life is so short. Once ground, rye flour deteriorates in just 5-6 weeks.
Remember, not all flour is the same and can’t be stored the same.
Storing flour fundamentals
I want to keep flour available and ready to use so how I store it mattress! Here are some essentials to remember when storing flour that should be followed regardless of the flour type:
- Choose a cool, dry place away from direct sunlight. I find that my pantry works the best, as it maintains a consistent temperature and has limited exposure to our high Texas humidity
- Don’t keep it in its originally packaging unless you’re using it within the next few weeks. To keep moisture at bay, I transfer my flour from its original packaging to an airtight container. By doing so, it helps me avoid any potential threats of mold and keeps my flour fresh for longer
- Store in the fridge or freezer. One thing I’ve found is that storing flour in the refrigerator or freezer not only extends its shelf life but also offers protection against pests such as weevils. If I choose to store flour in the refrigerator or freezer, I make sure to double bag it in airtight plastic bags to prevent condensation and maintain freshness
- Keep away from stinky foods. I also pay a lot of attention to keep my flour away from any sources of strong odors, as they can be absorbed by the flour and affect its taste. So, I avoid storing it near spices or other aromatic foods
Proper storage is key to keeping your flour fresh, nutritious, and free from potential contaminants. By employing these fundamental tips, you can ensure that your flour stays in the best possible condition for all your baking needs.
Storage solution #1: Airtight containers
Using airtight containers is my go-to method for storing flour. Airtight containers keep the flour fresh, prevent insects, and protect the delicate product from moisture. Here’s the breakdown of the various types of airtight containers I use and recommend for keeping your flour in top-notch condition.
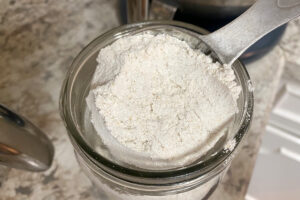
Glass jars
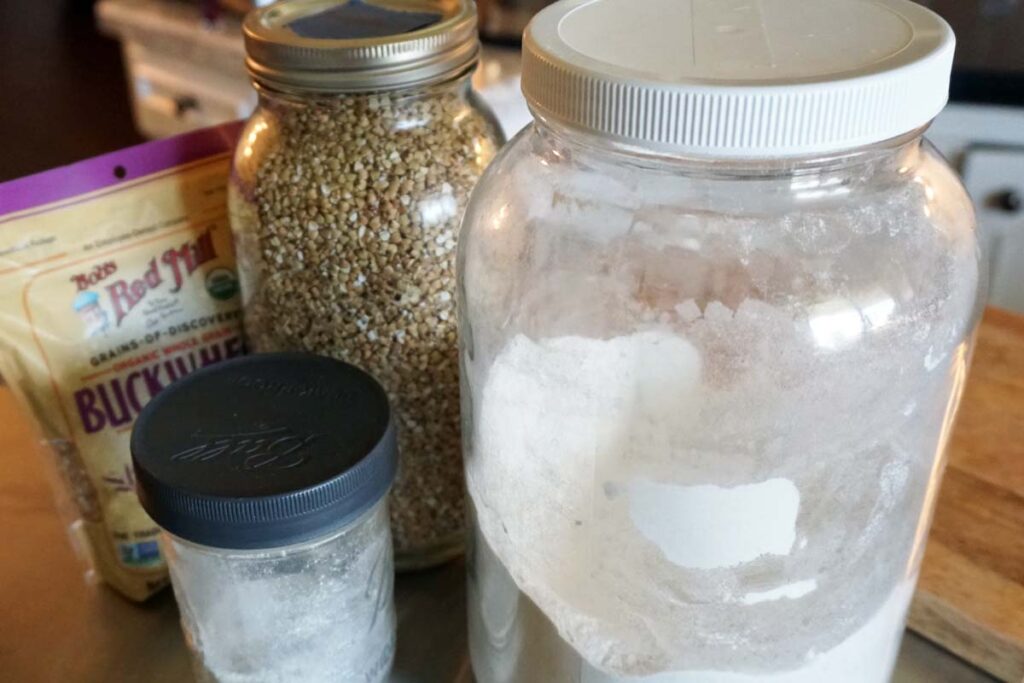
I love using glass jars because they’re readily available and create a tight seal. Glass mason jars also give my pantry a nice visually-organized look.
I usually use both 1/2-gallon mason jars or 1-gallon jars I found on Amazon but will also reach for a pint-sized jar for storing excess flour. Remember to choose the right jar size to accommodate the amount of flour you have.

Recommended jars: I use both these 1-gallon jars from Amazon (affiliate link) as well as 1/2-gallon mason jars, which you can get on Amazon (affiliate link) but I usually just pick them up at my local Walmart because they are significantly cheaper there.
Square containers made of plastic or glass
These handy containers save space in my pantry since they fit snugly next to each other. Just ensure that the square containers come with tight-fitting lids to achieve the airtight seal.
Plastic containers are lightweight, affordable, and provide a good level of protection for my flour. When using plastic containers, I prefer to go for airtight plasticware with a tight lid to keep the flour fresh and moisture-free.
Recommended containers: I got these on a Black Friday deal at Walmart and have been happy with them.
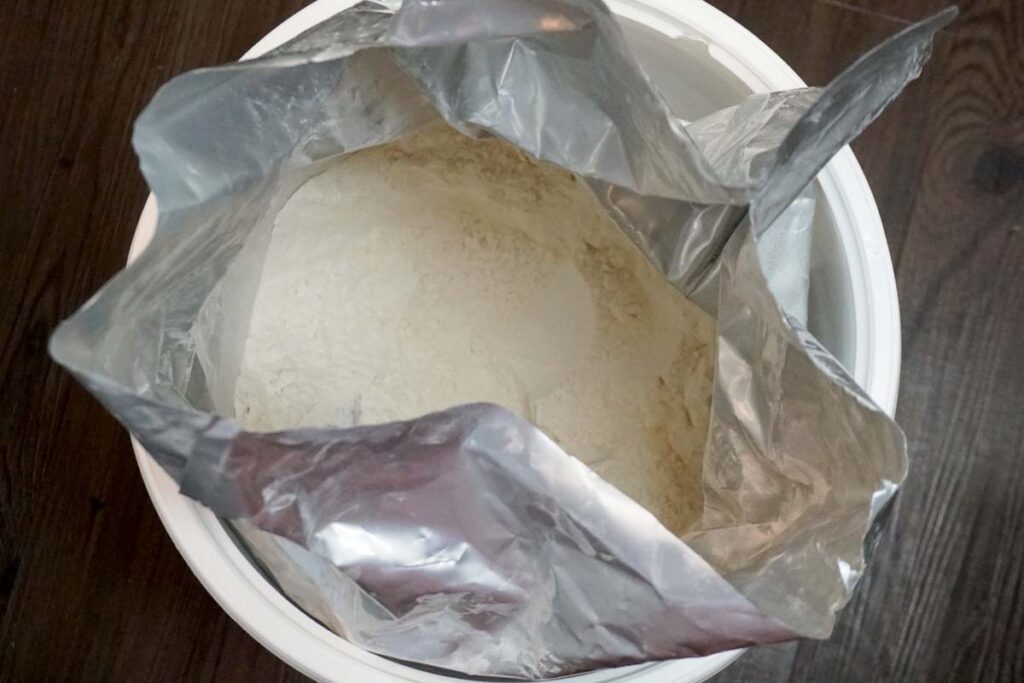
Food-grade buckets
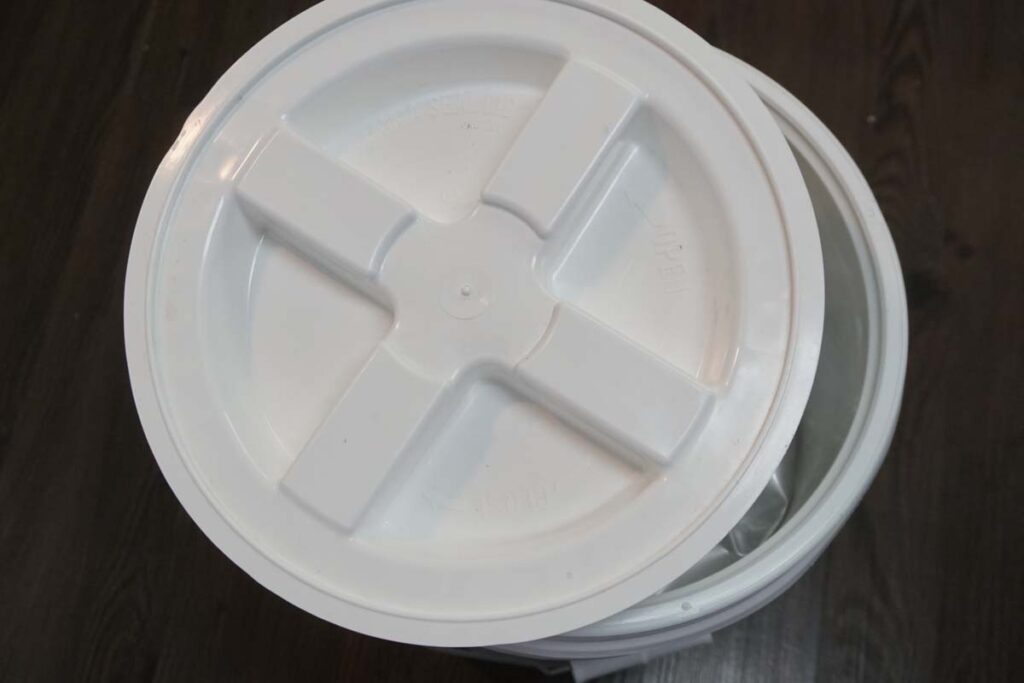
For longer-term storage, you can store white flour (also called all-purpose flour) in 3.5 or 5-gallon food-grade buckets.
Note that this is not a good solution for whole grain flours as they contain both the bran and germ, whereas white all-purpose flour is just the endosperm. The endosperm is the starchy, energy-providing part of the grain that supports the growth of the plant and won’t make the flour go rancid as quickly as the bran or germ. Whole grain flours also can have residual moisture, which can cause them to mold if the moisture is still present.
Recommended buckets: I have purchased my food-grade buckets from both Tractor Supply and Azure Standard. I’ve always been able to get gamma lids at my local Tractor Supply as well.
Storage solution #2: Bags
When it comes to storing flour, bags can be a convenient and space-saving option. In my experience, there are three types of bags that can be used for this purpose: paper bags, plastic or Ziploc bags, and mylar bags.
Paper bags
Using the original paper bag that the flour comes in can be a short-term solution. However, while these bags permit any remaining moisture from the milling process to evaporate, they don’t protect the flour very well from external factors.
I prefer to transfer the flour to a more secure bag for longer-term storage.
Plastic or Ziploc bags
In case you don’t have access to specialized containers or want to save some money, Ziploc bags work wonders! They’re convenient, airtight, and even reusable. Just make sure to squeeze out as much air as possible before sealing the bag tightly.
I typically use Ziploc bags for short-term flour storage or when I want to throw excess flour in the freezer to use later.
Mylar bags
Another option is to use mylar bags for storing flour. These bags are popular because they create a barrier against oxygen, light, and moisture. I’ve found that sealing flour in mylar bags with oxygen absorbers provides long-term storage with minimal risk of spoilage. It’s also a space-efficient option when stacking them in a pantry or cupboard.
As I mentioned above, using mylar with whole grain flour is not a good solution as they contain both the bran and germ, whereas white all-purpose flour is just the endosperm. The endosperm is the starchy, energy-providing part of the grain that supports the growth of the plant and won’t make the flour go rancid as quickly as the bran or germ.
Recommended bags: We’ve had good luck with this brand on Amazon, which we have bought both the 1-gallon mylar bags and 5-gallon mylar bags (affiliate links). We also have had good luck with these oxygen absorbers on Amazon (affiliate link).
Storage solution #3: Freezing whole grain flour
Freezing is a fantastic way to store whole grain flours. These types of flours are more perishable than all-purpose flour due to their higher oil content. Storing them in the freezer can extend their shelf life, maintain their freshness, and prevent them from going rancid.
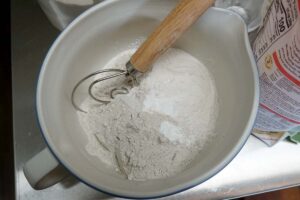
To freeze flour effectively, use an airtight container or a heavy-duty resealable plastic bag. Label the container with the type of flour and the date it was stored, as this makes it easy to keep track of when it should be used by.
When it’s time to use the flour, allow it to sit at room temperature for at least 20-30 minutes. This ensures the flour has returned to a manageable temperature and consistency for baking.
Storage soluution #4: Vacuum sealing
Vacuum sealing works by removing air from the storage container, which can help keep the flour fresh and free from bacteria, pests, and oxidative damage. There are a couple of vacuum sealing methods I’d like to share with you.
- Home vacuum sealer machine combined with specially designed bags. To do this, I found it’s important not to put the flour directly into the vacuum seal bag. Instead, put it in another bag first, before placing it into the vacuum seal bag. This prevents flour from getting sucked into the vacuum sealer machine.
- Vacuum sealing flour in mason jars. This technique is great as it makes using the flour very easy and many home vacuum sealers come with a mason jar attachment, creating an airtight seal on the jar lid.
- Using oxygen absorbers. These small packets help remove oxygen from the storage container, which is a key factor in keeping the flour fresh. I can use oxygen absorbers in combination with Mylar bags, which are durable and well-suited for long-term storage.
Recommended vacuum sealer: I would love to one day own a commercial vacuum-sealing machine, but right now we use this one from Walmart and it works great.
When your storage solution fails: Identifying and discarding rancid flour
Sometimes, despite our best efforts to store flour properly, it can still go bad. It’s important to identify rancid flour to avoid it affecting the taste of my baked goods or even making me sick. So, here are a few tips on how to spot and discard rancid flour.
- Use your nose! Rancid flour has a distinct, musty and sour smell which can help in detecting it easily. If I don’t smell anything at first, I’ll get a little closer and give it another whiff.
- Check the appearance and texture of the flour. Rancid flour may have visible mold or have a clumpy texture. Moreover, I look out for any changes in color. While some flours have a natural color variation, any significant change could indicate rancidity.
- Taste the flour. If I’m still unsure after checking the smell and appearance, I’ll taste a tiny amount. Rancid flour tastes bitter, and its flavor can ruin any recipe that it’s used in.
Rancidity in flour is caused by the oxidation of its natural oils. Whole grain flours, which contain more oils, can oxidize and become rancid more quickly than refined flours. That’s why taking extra care in storing these flours, like keeping them in the refrigerator, is essential.
If I find that my flour has gone bad, I discard it immediately to avoid any health risks or compromising the quality of my baked goods. It’s better to start with fresh flour than to risk using spoiled ingredients in my recipes.
Frequently asked questions
What are the best containers for storing flour?
I’ve found that airtight containers work the best for storing flour. Airtight containers help maintain freshness by keeping out air, moisture, and bugs. Glass or plastic containers with tight-fitting lids are ideal choices.
I use pint mason jars, 1/2-gallon mason jars, these 1-gallon jars I get on Amazon (sold in a 4-pack) (affiliate link), or even 2-gallon Ziploc bags.
Can I freeze flour for long-term storage?
Yes, freezing flour or whole grain berries is a great option for long-term storage. Simply transfer the flour to a plastic container or Ziploc bag before placing it in the freezer. This method helps in preserving its quality and freshness for an extended period.
How to store flour to avoid bug infestations?
To prevent bug infestations, it’s crucial to store flour in airtight containers. Additionally, you can place bay leaves inside the container or the storage area, as their scent helps deter bugs. Keeping the storage area clean and wiping up any spilled flour are other good practices to follow.
Is it safe to store flour in a plastic container?
Yes, it’s perfectly safe to store flour in a plastic container as long as it’s food-grade and airtight. Use BPA-free, food-safe plastic containers to prevent any chemical leakage into the flour.
What is the ideal technique for storing various types of flour?
The storage technique may vary depending on the type of flour. Refined flours, such as all-purpose, pastry, and bread flour, can be stored in a cool, dry place like a pantry. They can even be put in mylar bags and then in food-grade buckets for long-term storage.
For whole grain flours, which are more prone to spoilage due to their natural oils, consider storing them in an airtight container in the fridge or freezer for a longer shelf life.
This is especially true with some whole grain flours, such as Rye, which can last only 4-6 weeks before it goes rancid, but can last up to 6 months if stored in the fridge or freezer.
How to store large amounts of flour efficiently?
For storing large amounts of flour, I recommend using Mylar bags with oxygen absorbers. This method ensures a long shelf life, as it protects the flour from humidity, light, and oxygen exposure. Once sealed, you can store the Mylar bags in a cool, dry place, preferably in a food-safe bucket.
Note that this only works for refined flours such as all-purpose, pastry, and bread flours.