Barley has been a staple in human’s diets for thousands of years. Known for its hearty flavor and versatile use, Barley is making a comeback, especially among enthusiasts eager to embrace homemade flours and whole grains (that’s me!).
Milling Hulled Barley into flour at home opens up a world of culinary possibilities while offering a host of nutritional benefits. Unlike its more processed counterpart, Pearled Barley, Hulled Barley retains the bran and germ, making it a whole grain rich in fiber, vitamins, and minerals. The process of milling Barley at home not only allows you to capture these nutrients in their freshest form but also empowers you to control the texture and quality of your flour, ensuring that every loaf of bread, pastry, or dish you create is as wholesome as it is delicious.
In this guide, we’ll explore the benefits of milling your own Barley flour, from the types of Barley best suited for milling to the equipment you’ll need and the step-by-step process to transform Hulled Barley into fine, nutritious flour.
Step 0: Understanding Barley
Before diving into the milling process, it’s essential to understand the grain at the heart of our discussion: Barley. This ancient grain, one of the first to be cultivated by humans, offers a unique combination of nutrition, versatility, and flavor that makes it a standout choice for milling into flour.
Types of Barley: Hulled vs. Pearled
Barley comes in various forms, but when it comes to milling flour, the type of Barley you choose is crucial.
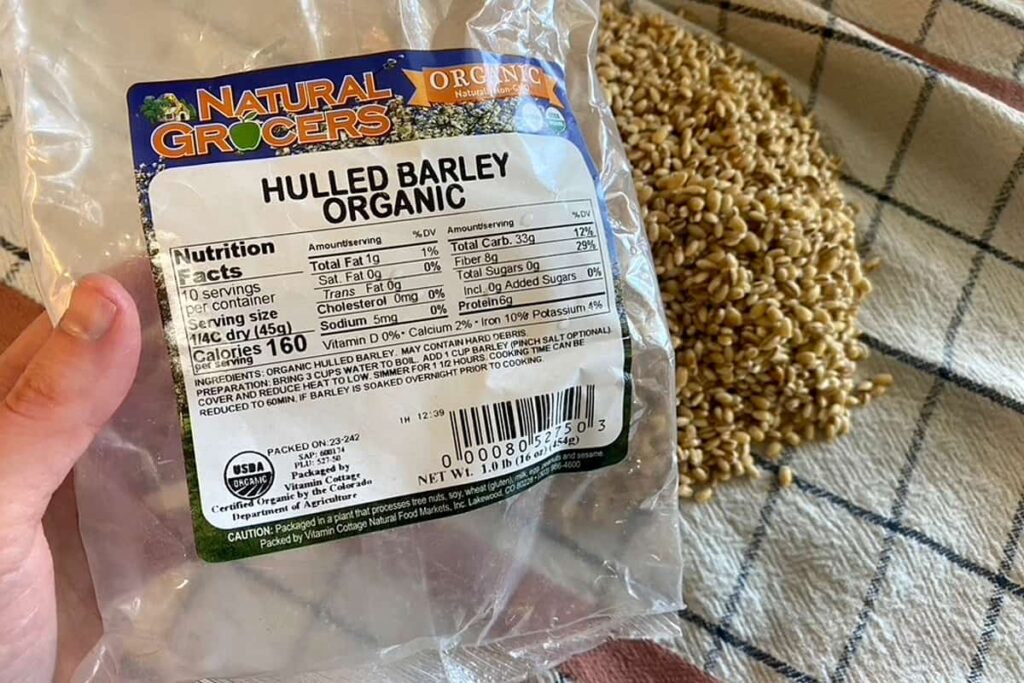
- Hulled Barley, sometimes referred to as Whole Barley, is the grain in its most natural form, with only the inedible outer husk removed. This leaves the nutrient-rich bran and germ intact, offering a whole grain flour that is higher in fiber, vitamins, and minerals
- Pearled Barley has been processed further to remove the bran and possibly part of the germ. While this gives it a quicker cooking time and a softer texture, it also strips away many of the grain’s nutritional benefits, making it less ideal for milling into a nutritious flour
Nutritional benefits of Barley flour
Barley flour is a nutritional powerhouse. It is rich in dietary fiber, particularly beta-glucan, a type of soluble fiber that has been linked to improving cholesterol levels and heart health. It’s also a good source of minerals like selenium, magnesium, and manganese, as well as vitamins such as niacin (Vitamin B3). The presence of these nutrients makes barley flour a heart-healthy addition to any diet.
Barley flour also has a low glycemic index (GI), meaning it causes a slower rise in blood sugar levels compared to more refined flours, which we often call “all-purpose flour“. This makes it an excellent choice for people managing diabetes or looking to maintain steady energy levels throughout the day.
Culinary uses of Barley flour

Barley flour brings a slightly nutty and sweet flavor to baked goods, enhancing the taste profile of bread, cookies, pancakes, and more. While it may not rise as much as wheat flour due to its lower gluten content (which means there is a bit of a learning curve to baking with Barley flour), it can be used to add fiber and nutrition to recipes.
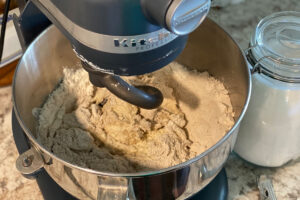
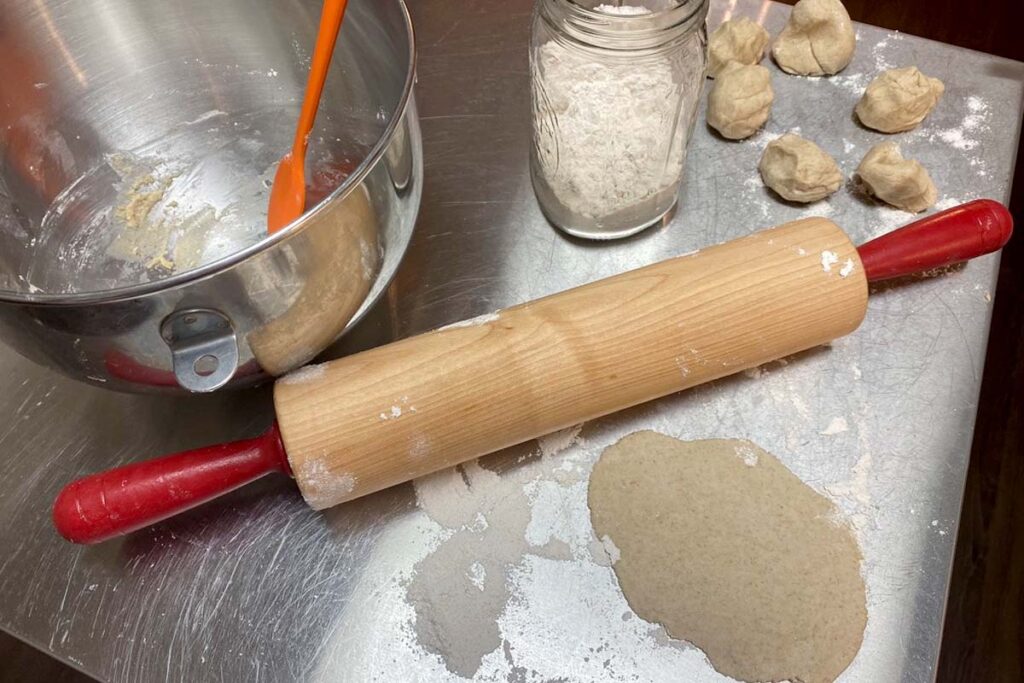
I typically don’t use Barley flour as a 1-to-1 substitute for all-purpose flour, but instead I mix it with wheat flour (most often Einkorn) to improve the texture of baked products while still imparting the health benefits of whole grain barley. Why? Well, it it such a soft grain that it has a hard time staying together. This makes it not ideal as a substitute, but does make it ideal for softening up your whole-grain recipes, especially for breads, tortillas, muffins, and desserts.
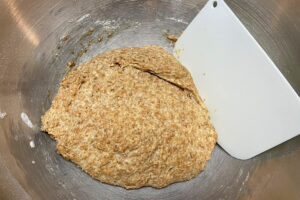
(I didn’t have time one evening to grind more grain so I used 100% Barley flour to make my go-to recipe for tortillas. They were SO soft that I couldn’t use my tortilla press!)
Barley flour can also be used as a thickener in soups and stews, adding a rich flavor and beneficial nutrients. Its versatility extends to various culinary applications, making it a valuable addition to any kitchen.
Step 1: Source your Hulled Barley
Step 2: Clean and sort
Before transforming Hulled Barley into flour, proper preparation is key to ensure the highest quality end product. This preparation involves cleaning, and optionally, soaking and sprouting the barley, followed by drying it. Each step is designed to enhance the grain’s nutritional value, improve its digestibility, and optimize it for milling.
Cleaning the Barley

The first step in preparing Hulled Barley for milling is to ensure it is clean and free from any debris, stones, or other impurities that might have been mixed in during harvesting or packaging. Follow these simple steps to clean your barley thoroughly:
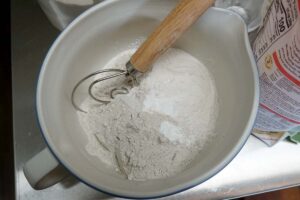
- Pour the barley into a strainer: Choose one large enough to hold your barley and provide ample space for washing
- Rinse with cold water: Pour clean, cold water and gently swirl the barley with your hands. This will help to loosen and remove any dirt or debris
- Repeat: Let the water drain and repeat the rinsing process 2-3 times until the water runs clear
Soaking and sprouting (Optional)
Soaking and sprouting Hulled Barley can enhance its nutritional profile by reducing phytic acid, which binds to minerals and can limit their absorption, and activating enzymes that make the grain more digestible and its nutrients more accessible.
- Soaking: Place the cleaned barley in a bowl, cover it with plenty of water (since the grains will expand), and let it soak overnight or for at least 8 hours. After soaking, rinse the barley thoroughly
- Sprouting: To sprout the Barley, drain it well after soaking and transfer it to a sprouting jar or a clean container. Rinse and drain the barley a few times a day to prevent mold growth, keeping it in a spot with indirect light. Sprouting may take 1-3 days, depending on the temperature and conditions. Look for tiny sprouts beginning to emerge from the grains
Drying the Barley
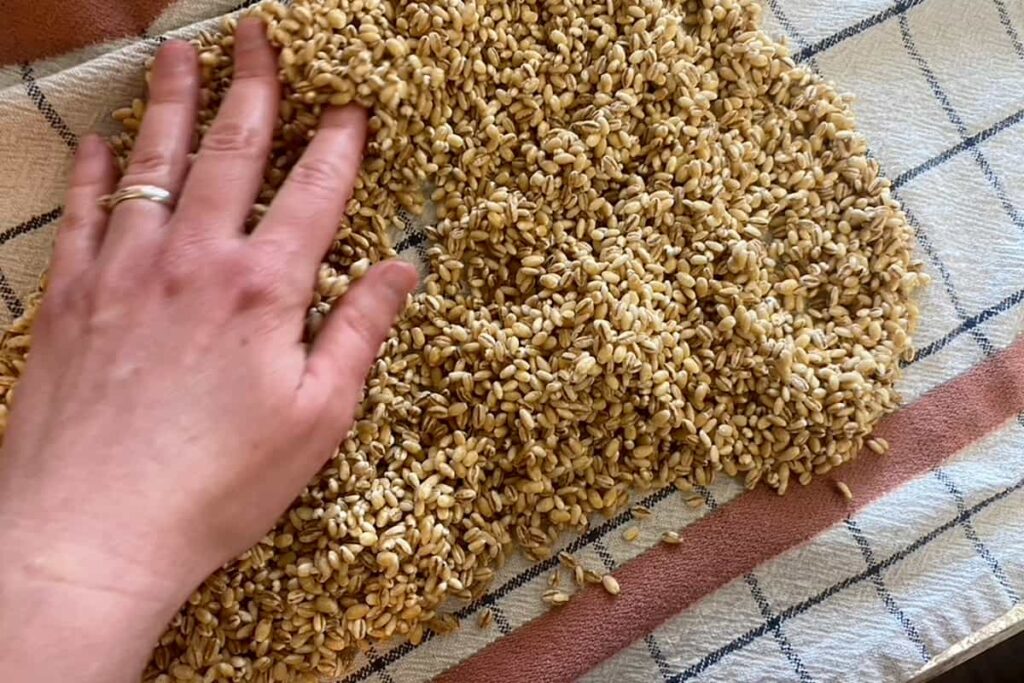
Barley MUST be dried before milling to prevent clumping and ensure a smooth milling process.
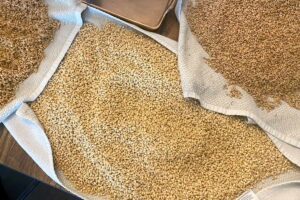
I let the water drip out as much as possible after rinsing the Barley, then spread it out on a clean dish towel in my kitchen. Every few hours, I swirl the whole grains to make sure they are getting exposed to fresh air.
In a typical kitchen, this could take 24-48 hours.
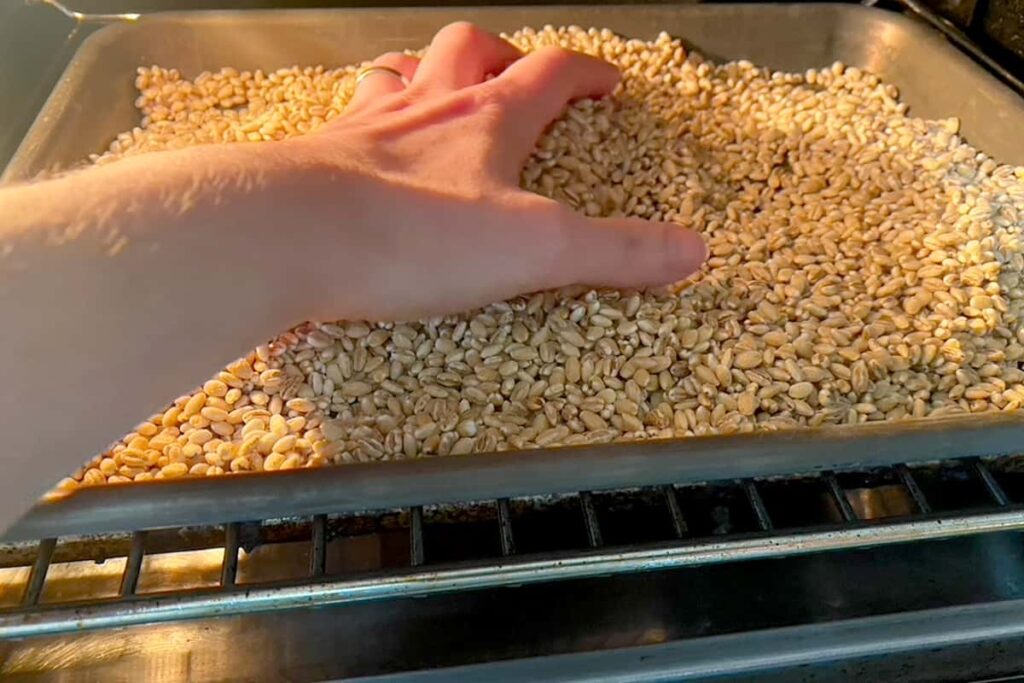
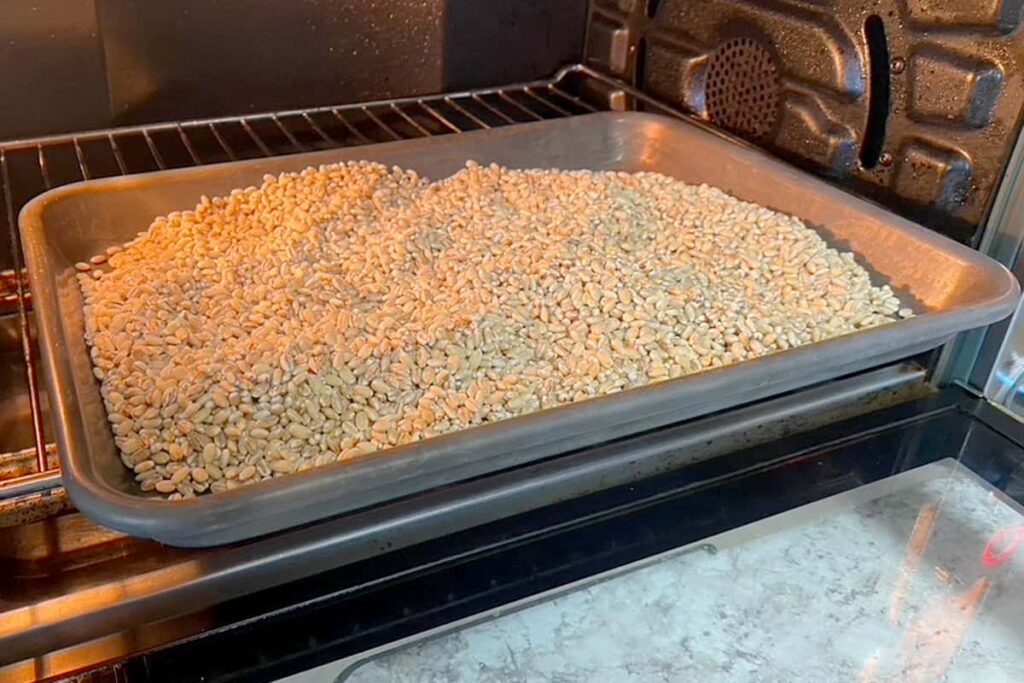
Sometimes I need to mill my grains on the same day that I was them.
To do this, spread the Barley in a thin layer on a baking sheet and dry it in an oven set to the lowest possible temperature (I typically use 175 degrees), or use a dehydrator following the manufacturer’s instructions. The Barley should be completely dry, which could take several hours.
Putting wet or damp grains into your mill can cause it to “gum up” … We know that flour + water makes sticky dough, and this is exactly what will happen in your mill, causing multiple different problems from making a mess to ruining the motor.
It’s best to ensure your grains are really dry and cooled before making this mistake!
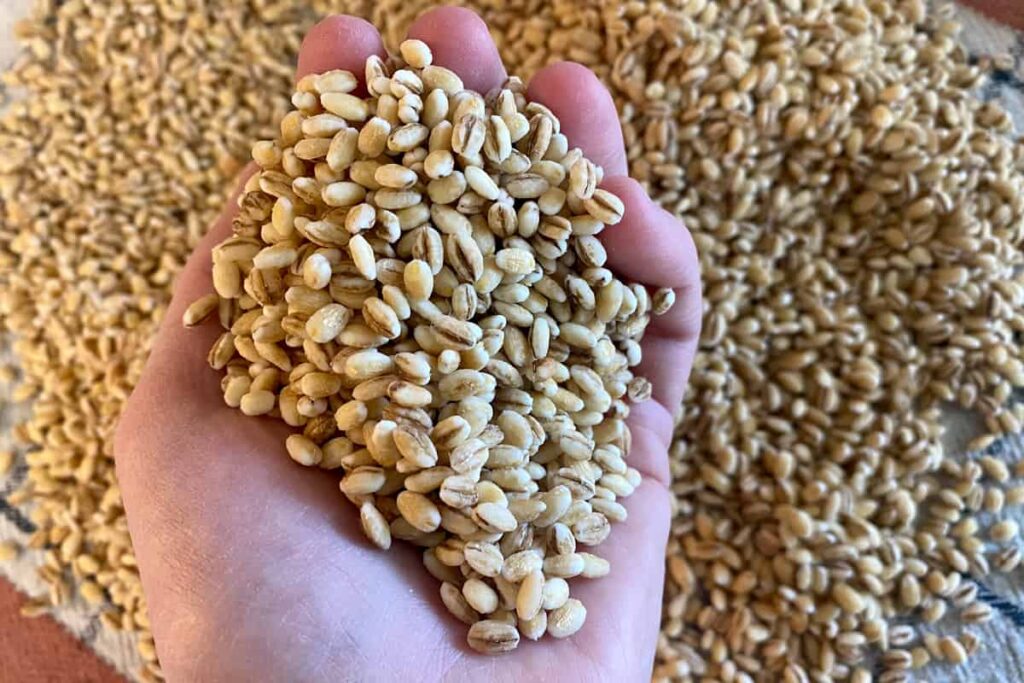
Sorting the Barley
Now you have nice and dry grains that are free from dust and dirt. But before you dump your grains into your mill, it’s important to pick through to make sure you don’t have any rocks.
Depending on where you got your grains, they may already be free of debris, but a lot of grain I buy is not as clean as I’d like it to be. I know that if a rock accidentally gets into my mill, it can easily break it. So a few extra minutes to inspect the grain is always worth it.
Step 3: Getting the equipment
Choosing the right milling equipment is crucial for transforming hulled barley into high-quality flour. The market offers a variety of grain mills, each with its own set of features, benefits, and considerations. Understanding these differences will help you select the best mill for your needs.
Types of grain mills
- Manual grain mills: These mills are operated by hand, typically using a crank. Manual mills are a good choice for those with smaller quantities of grain to mill, limited space, or a desire for a more hands-on approach. They’re often more affordable and can be used in places without electricity
- Electric grain mills: Electric mills offer convenience and efficiency, capable of milling larger quantities of flour quickly. They’re ideal for regular bakers or those looking to mill in bulk. The downside is they’re more expensive and require electricity
- Stone vs. Metal Burrs: Grain mills either use stone or metal burrs to crush or grind the grain into flour.
- Stone Burrs tend to produce flour with a cooler temperature, preserving more nutrients. They’re excellent for producing fine to medium-fine flour
- Metal Burrs are more versatile and can easily handle a variety of grains, including oily or wet grains that might damage stone burrs. They can produce very fine flour and are generally more durable
Choosing the right mill for your needs
- Consider the quantity of flour you plan to mill, storage space, budget, and whether you prefer manual or electric operation
- Think about the types of flour you want to produce. If nutrient preservation is key, a stone burr mill might be preferable
- Maintenance and durability are also important factors. Look for mills that are easy to clean and have good reviews regarding longevity
I know a grain mill is a HUGE investment. If you’re trying to figure out what is best for you, I have a more detailed guide here: How to pick the best home grain mill: A buyer’s guide for easy selection.
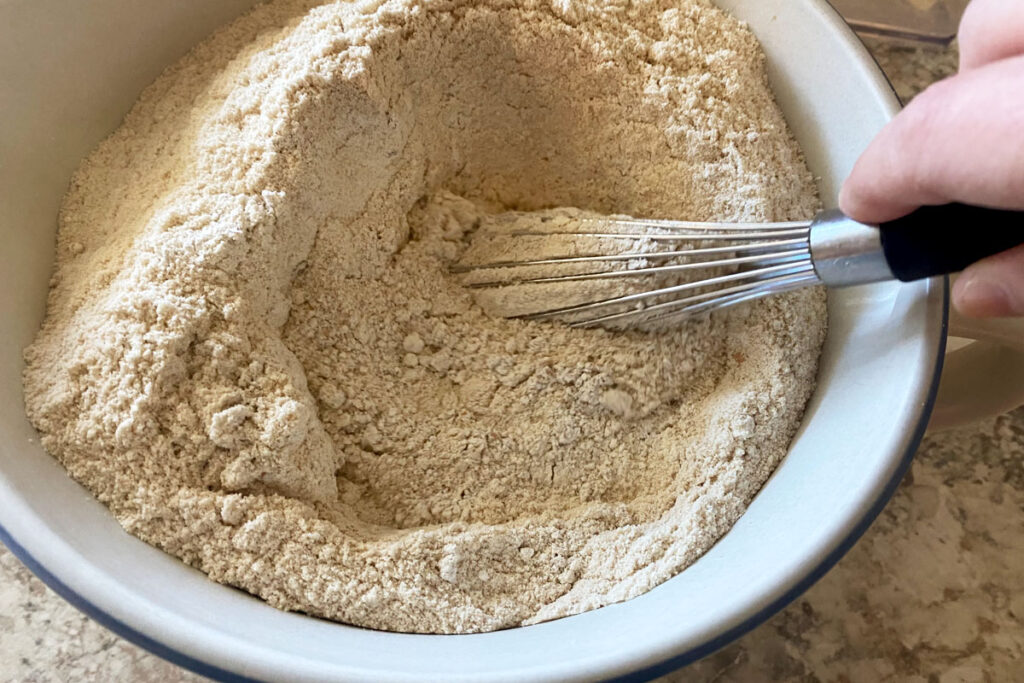
Step 4: How to mill Hulled Barley
Milling hulled barley into flour at home is a straightforward process once you have the right equipment and your barley is prepared. Here’s how to go about it:
- Setting up your mill: Start by setting up your grain mill according to the manufacturer’s instructions. For electric mills, ensure it’s plugged into a power source. For manual mills, secure it to a stable surface
- Adjusting the mill’s grinding settings: Most mills allow you to adjust the settings to control the fineness or coarseness of the flour. For Barley flour, a medium to fine setting is typically preferred, but feel free to experiment based on your needs
- Feeding the grain into the mill: Begin by slowly feeding the cleaned Barley grains into the mill’s hopper. For manual mills, start turning the crank. For electric mills, simply turn it on
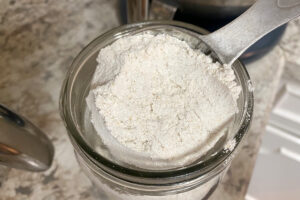
- Collecting the flour: Place a container or bag beneath the mill’s flour outlet to collect the flour. Continue feeding grains into the hopper until you’ve milled the desired amount
- Storing the flour: Freshly milled Barley flour should be used relatively quickly to take advantage of its nutrients. However, it can be stored in an airtight container in a cool, dry place for up to a month, or in the refrigerator or freezer for longer shelf life
Tips for successful milling
- Always start with a small batch to test the settings on your mill
- If the flour isn’t as fine as you’d like, you can run it through the mill a second time
- Keep the mill clean and well-maintained to ensure it works efficiently for years to come
Section 5: Using your Barley flour
Barley flour, with its rich, nutty flavor and nutritional benefits, is an excellent addition to a wide variety of dishes. From bread and pastries to soups and sauces, barley flour can be used in full or as a partial substitute for other flours to add depth of flavor and a nutritional boost.
Here are some ideas for incorporating it into your cooking and baking:
Breads and baked goods
- Whole grain barley bread: Use barley flour to make a rustic, whole grain loaf that’s dense and full of flavor. Mixing barley flour with wheat flour can help the bread rise better; it helps heavier wheat, like Einkorn, lighten up
- Barley pancakes and waffles: Substitute barley flour for part of the all-purpose flour in your favorite pancake or waffle recipe for a nutritious breakfast option
- Barley muffins and quick breads: Add barley flour to muffins and quick breads for a tender crumb and a boost in fiber.
Pastries and desserts
- Barley flour cookies: Replace a portion of the wheat flour with Barley flour in cookie recipes to add a unique flavor and a more tender texture
- Fruit crumbles and pies: Use Barley flour in the topping for fruit crumbles or in the crust of pies for a nuttier, more flavorful result
Savory dishes
- Thickening soups and sauces: Barley flour works well as a thickener for soups, stews, and sauces, adding a slight creaminess and a boost in nutrition
- Barley flour pizza dough: Incorporate Barley flour into pizza dough for a distinct taste and a healthier crust option
- Homemade pasta: Experiment with replacing some of the semolina or all-purpose flour with Barley flour in homemade pasta recipes for added nutrition and a different flavor profile
Breakfast and snacks
- Barley porridge: Make a comforting bowl of Barley porridge by cooking finely milled Barley flour with milk or water. Sweeten with honey or maple syrup and top with fresh fruit and nuts
- Energy bars and granola: Add Barley flour to homemade energy bars or granola recipes for extra fiber and a slight nutty flavor
Global cuisines
- Flatbreads and rotis: Use barley flour to prepare flatbreads or rotis, common in many cultures around the world
- Noodles: Explore making noodles with Barley flour for use in Asian-style dishes, offering a healthier twist on traditional recipes
Tips for using Barley flour
- When substituting barley flour for all-purpose flour in recipes, start by replacing just a quarter to half of the flour to see how it affects the texture and flavor.
- Keep in mind that barley flour absorbs more liquid than wheat flour, so you may need to adjust the liquid ingredients in your recipes accordingly.
- Experiment with combining barley flour with other flours to achieve the desired texture and flavor in your dishes.