Check out our entire storing grains at home series!
Storing is a critical part of baking and cooking. Without proper storage, grains can easily be lost to rodents, bugs, or they can go rancid, ruining your investment.
This is one-part of a three-part series on proper storage:
- How to store flour: Milled whole grains transform into flour, allowing us to create amazing food, but how we store them is important! I share my tips on how to keep your flour, from all-purpose to tricky rye, fresh, accessible, and ready-to-use.
- How to store whole grains: When stored intact, whole grains (the entire wheat berry or psudeograin) can last indefinitely. I share my tips on how to keep your grains free of moisture, pests, and heat
- Creating a working pantry system for flour and whole grains (this article)
When I first started buying whole wheat berries and specialty whole wheat flour, it didn’t take long to feel a bit overwhelmed with storing and rotating and ensuring my flours didn’t go rancid.
This is because unlike all-purpose flour, whole grain flours have a much shorter shelf-life, especially Rye.
Over time my husband and I have figured out a working pantry system that helps keep us organized and I wanted to share it with you in hopes it can inspire you to find what works for your family.
What I buy
I typically buy two types of grains and pseudo-grains:
- All-purpose, bread, and pastry flour: A more shelf-stable option and ideal for creating quick breads, yeast breads, and 50/50 blends that are more palatable for those who are new to whole-grains
- Whole grain berries: Whole grain berries and pseudo-grains which can either be cooked whole or milled into flour
I also sometimes buy pre-milled whole grain flours at the grocery store to try (and share here!) but it’s not a main focus of mine since I have my own grain mill. But regardless of your personal preferences, the processes are very similar.
Working pantry for all-purpose flours
Step 1: Purchase flour
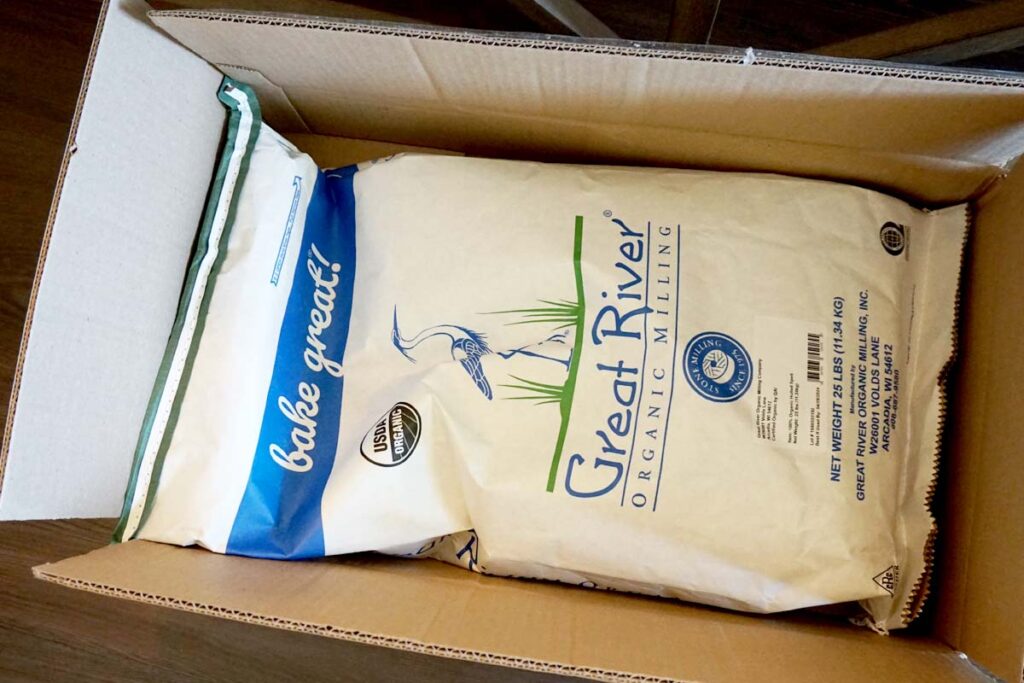
There are so many great options for all-purpose flours. From your local grocery store to local mills, you can source large or small bags of flour blends. I typically purchase flour in 25-pound bags but during Covid I had a hard time sourcing the larger bags and bought smaller 5-pound bags, so use whatever you can source.
Note that this storage method will not work for whole grain flours as they contain the bran and germ and will go rancid in 6-months or less. Only use “white” or “all-purpose” flours.
Step 2: Transfer all-purpose to long-term storage
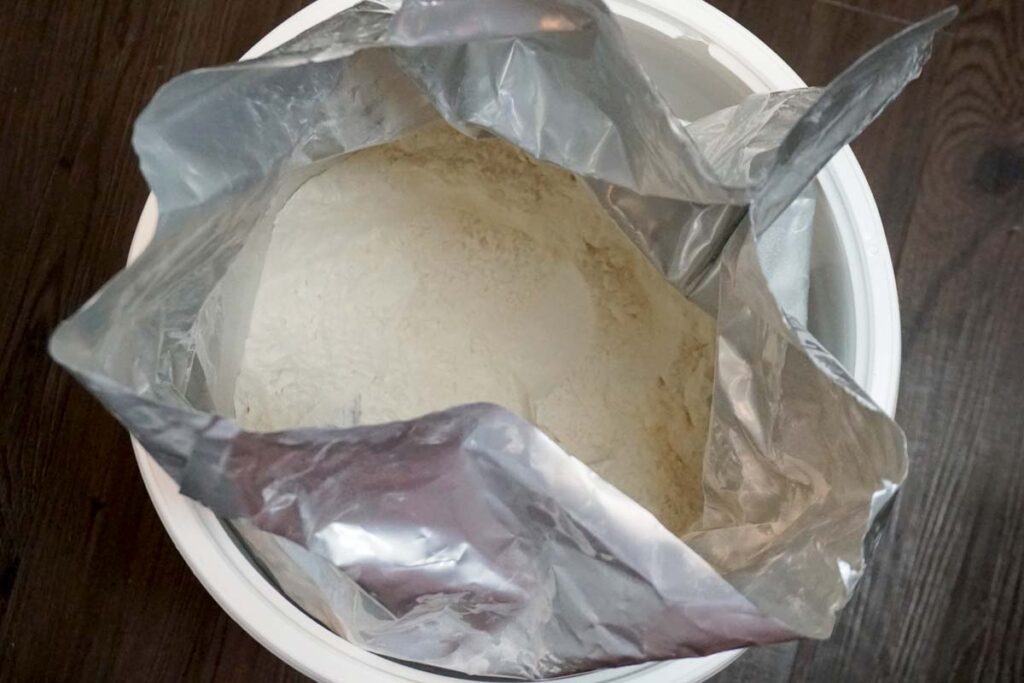
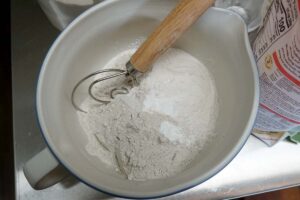
Using a 3, 5, or 6-gallon bucket with an equal size mylar bag, fill the mylar bag that is already inside the bucket with flour. Add enough oxygen absorbers (read the directions to make sure you are using an adequate amount!) and then seal with a hair straightener or iron.
Then, store these buckets in your pantry or climate-controlled garage. We put ours right outside the door connecting our house to our garage. It isn’t climate controlled but because we are in and out of the house so much our garage doesn’t get hotter than about 80-degrees, even in the 105+ degree heat of the Texas summer. You’ll need to find a place best in your home.
I typically like to have 1-year of all-purpose flour on hand at my house at all times, which is about 4-buckets of flour.
Recommended buckets: I have purchased my food-grade buckets from both Tractor Supply and Azure Standard. I’ve always been able to get gamma lids at my local Tractor Supply as well.
Recommended bags: We’ve had good luck with this brand on Amazon, which we have bought both the 1-gallon mylar bags and 5-gallon mylar bags (affiliate links). We also have had good luck with these oxygen absorbers on Amazon (affiliate link).
Step 3: Use your stored bucket
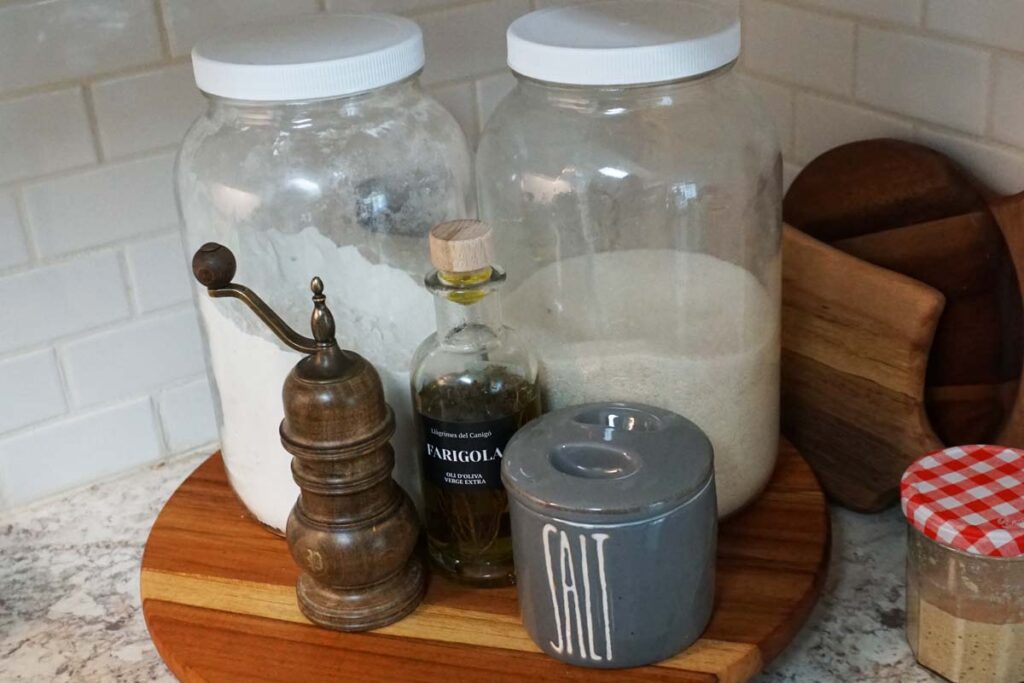
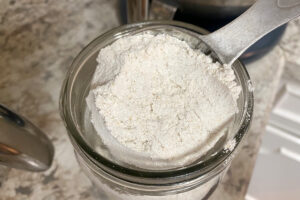
Like most households that cook from scratch, to make baking and cooking easy I keep both all-purpose flour and sugar on my countertop. I use a 1-gallon jar and use it until it’s empty. This means I store my all-purpose flour in three places:
- 1-Gallon jar on my kitchen counter: In arms reach as I need it
- 5-Gallon bucket in my main pantry: In my main pantry I keep a partially-used 5-gallon bucket of all-purpose flour. Because it has a gamma lid, I can refill my 1-gallon jar from this 5-gallon bucket
- 5-Gallon buckets in my garage: Which are stored with oxygen absorbers and sealed
You’ll keep refilling your 1-gallon jar in your kitchen from your 5-gallon bucket in your pantry until that bucket is empty.
Then, you’ll refill your 5-gallon bucket, dating it and putting it in the garage for storage. You’ll want to then open the next 5-gallon bucket, using the bucket that is the oldest.
This creates a rotational system that ensures you’re always using your oldest all-purpose flour up first.
Working pantry for whole grains
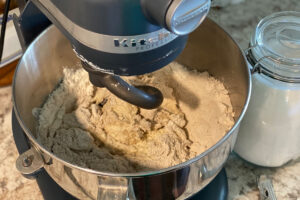
Because I own a mill I only store whole grains and grind the flour as I need to. Sometimes I do pick up small amounts of specialty flours (I love trying new flours!) but this process is how I usually store my whole grains.
Step 1: Purchase whole grains
Sourcing whole grains is a bit of trial and error as I’ve purchased really dirty grains but also have had some good luck. Whole grains can come in paper bags or in buckets so it’s important that you know what you are getting.
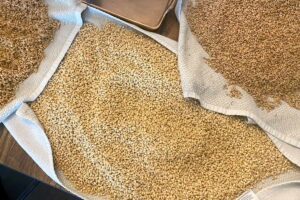
In my experience, grains that are packaged in buckets are usually cleaned and ready to be milled. Grains that come packaged in bags need to be sorted to get out impurities (such as pieces of grass stalk and rocks) as well as be washed.
When looking at prices, it may be worth it to buy pre-cleaned and sorted grains to save time. If you are on a budget, getting whole grains in bags can save a pretty penny, but you’ll want to make sure you don’t rush through the sorting and cleaning step because one little rock in your grain can ruin your mill.
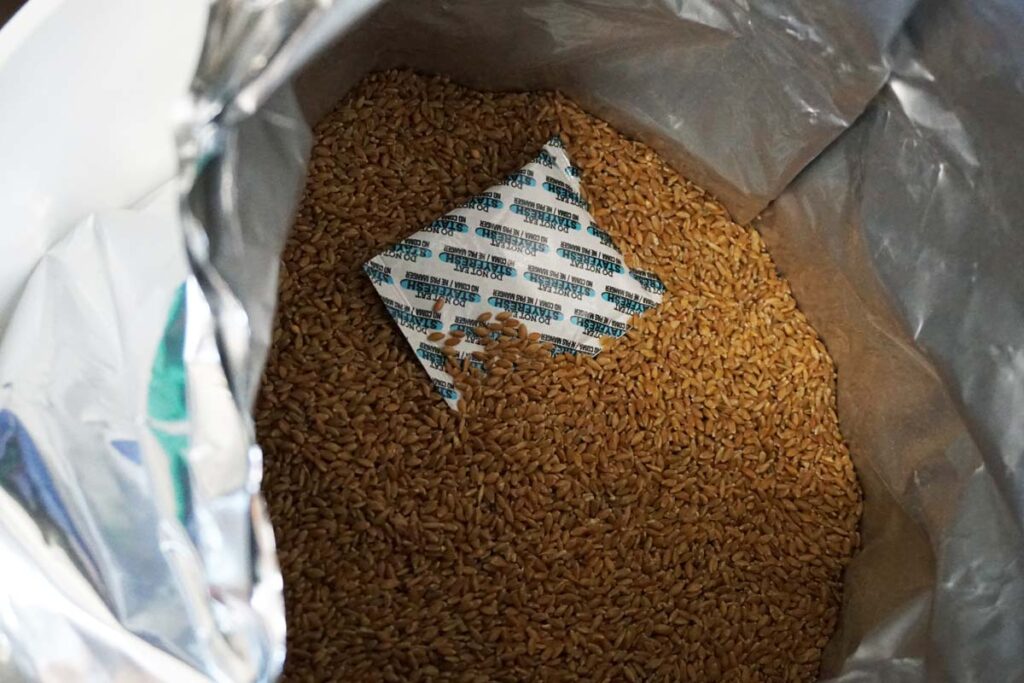
Step 2: Transfer grains to long-term storage
Moving your whole grains to long-term storage means that you can keep them for almost an indefinite amount of time. Check out my fun write-up on the Biblical story of Joseph storing grains for Egypt as well as my handy storing grains chart.
Once you have your paper bag of grains you’ll need to decide to either store them as-is or go ahead and sort and wash them. I typically store them as-is and worry about cleaning them later, as going through 25-pounds of grain seems a bit daunting, but you can do it in whatever order works best for you.
Fill the 5-gallon bucket with your whole grain. You can choose to store your grains in a mylar bag and oxygen absorber to ensure longevity or you can just use an oxygen absorber and seal–it’s up to you. I usually use a mylar bag + oxygen absorber if I’ve sorted and cleaned my grains but only an oxygen absorber if I haven’t.
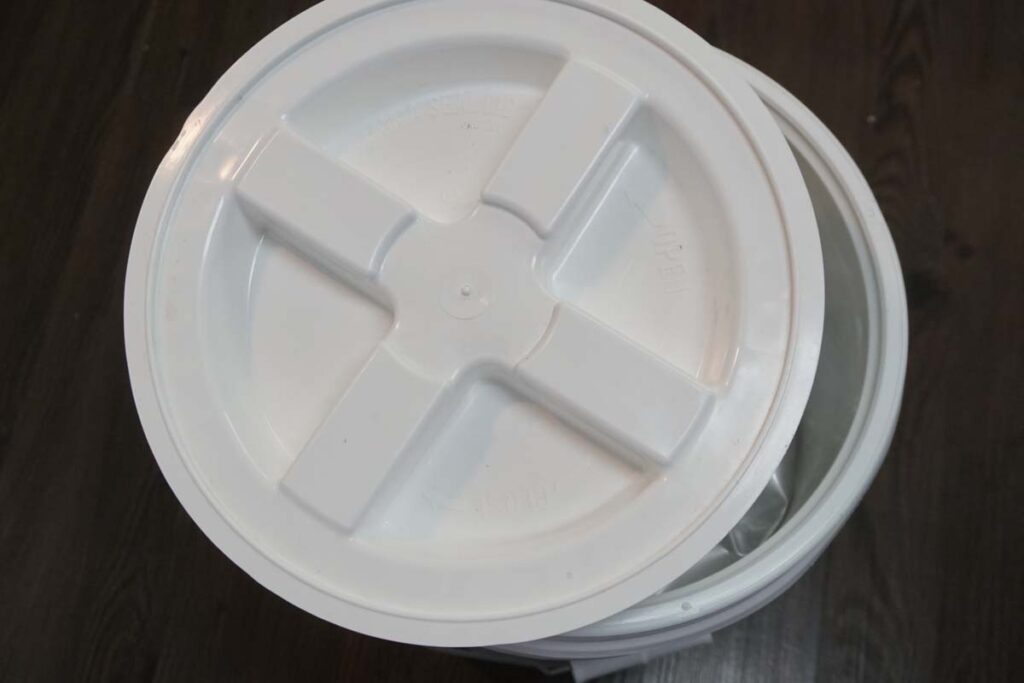
Seal your bucket with a gamma lid and store in a cool, dry place.
Recommended buckets: I have purchased my food-grade buckets from both Tractor Supply and Azure Standard. I’ve always been able to get gamma lids at my local Tractor Supply as well.
Recommended bags: We’ve had good luck with this brand on Amazon, which we have bought both the 1-gallon mylar bags and 5-gallon mylar bags (affiliate links). We also have had good luck with these oxygen absorbers on Amazon (affiliate link).
Step 3: Use your stored bucket
Similar to all-purpose flour, I now can store my whole grains in three places:
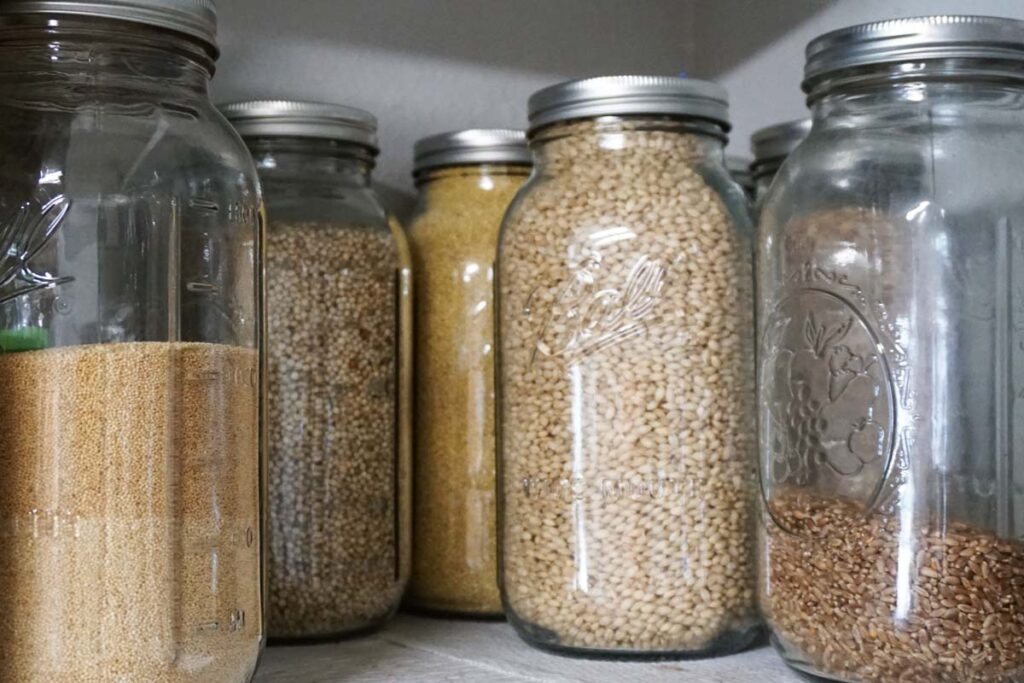
- 1/2-Gallon or 1-Gallon jar on my pantry shelf: I have too many grains to keep on my kitchen counter, but keeping my whole grains on a shelf in my pantry makes it easy to grab them for a quick meal
- 5-Gallon bucket in my main pantry: 5-Gallon buckets can stack 3-high which makes storage easy. In my main pantry I keep a partially-used 5-gallon bucket of each whole grain. Because it has a gamma lid, I can refill my 1-gallon jar from this 5-gallon bucket
- 5-Gallon buckets in my garage: Which are stored with oxygen absorbers and sealed
You’ll keep refilling your 1/2-gallon jar in your pantry from your 5-gallon bucket in your pantry until that bucket is empty.
Then, you’ll refill your 5-gallon bucket, dating it and putting it in the garage for storage. You’ll want to then open the next 5-gallon bucket, using the bucket that is the oldest.
This creates a rotational system that ensures you’re always using your oldest whole grains up first.