The process of milling wheat is what turns whole grain into flour. The aim is to make a consistent product, creating a flour with predictable performance, and creating a range of flour suitable for different functions.
Even though most modern bakers are removed from the process, milling wheat is something that has been happening for thousands of years and though it can be complex, it’s also a process you can start doing and learning as you go. You CAN mill your own grains at home, not only making your own flour, but creating your own flour combinations.
The industrial process of milling
The commercial milling process, which is used when you buy store-bought flour, is different from how you would mill your own grains at home. Industrial mills are very specific about how the grains arrive to them, how they are milled, and even packaged after the process is finished.
The milling process for flour has changed from the traditional two very large stone wheels.
So… how do they do it? Let’s start first with wheat 101.
Components of a wheat
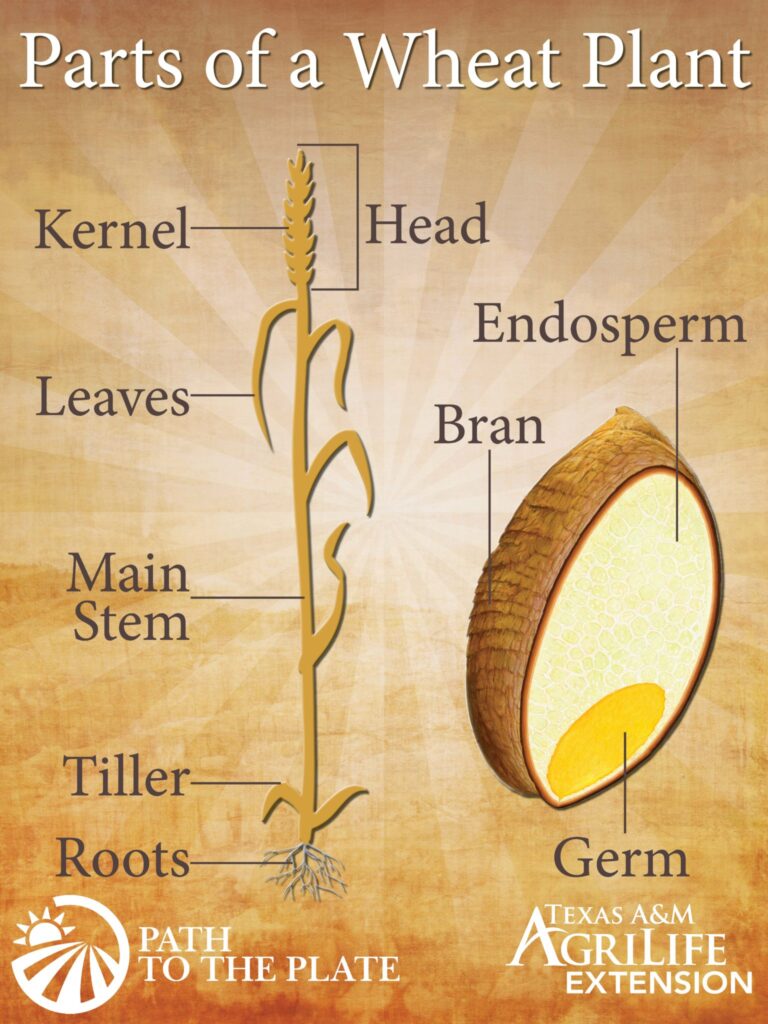
To understand commercially milled flour (or flour milled at home), you must first understand the three parts of wheat. Different flours use different combinations of a wheat berry, which include:
- Outer bran
- Inner white endosperm
- Wheat germ
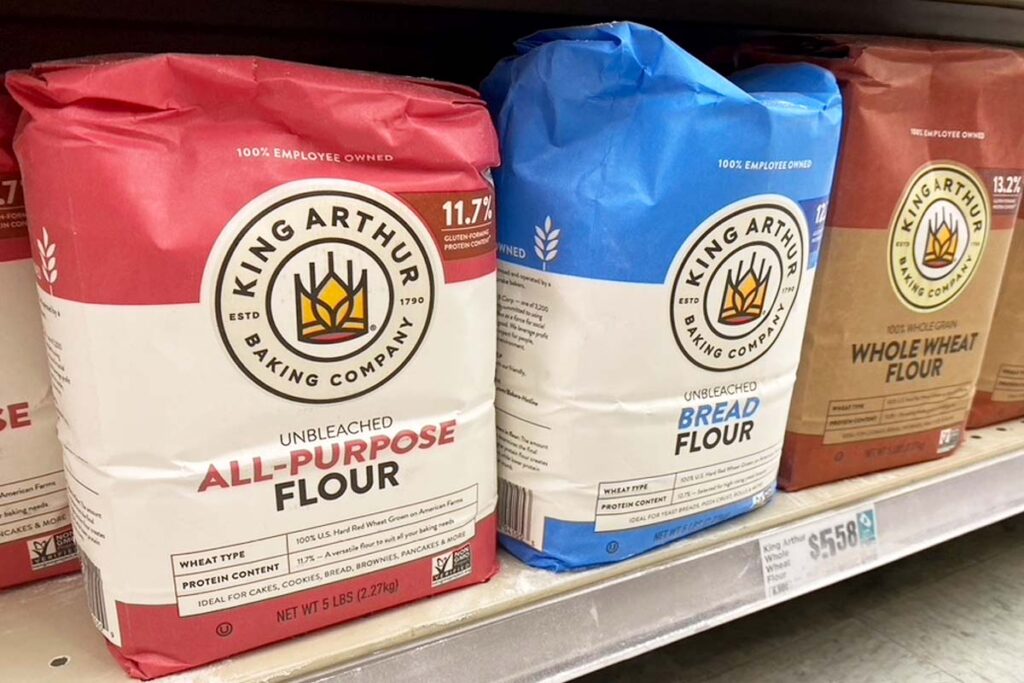
Commercial milling will separate these three parts, then put it back together to create different flours: whole wheat flour, all-purpose flour, bread flour, pastry flour, high-protein flour … think of each like a different recipe with different combinations to achieve a specific end result.
This is why “all-purpose” flour can vary so much from brand to brand, because each commercial mill will use different “recipes” to achieve their specific end result.
Here is a typical commercial milling process:
Step #1: Breaking open the grain
Cleaning: Wheat is purchased from farmers and delivered with the kernel removed from the head of the grain, which is removed from the stem. This separation process leaves dust, bits of leaves and grass, and rocks, so it must first be cleaned. Anything that goes into the mill will get into the flour, so large machinery is used to ensure that these impurities are removed and the grain is washed and dried.
After this, it passes through 2 cast steel break rollers, which are set just apart from one another.
The roller at the top will rotate a bit faster than the roller at the bottom so that when wheat passes through it will create the action of shearing, “opening” up the grains, breaking open the tougher bran, exposing the germ and endosperm.
By opening the grains instead of pulverizing them, the mill gets easier access to the particles of endosperm, which are inside.
Step #2: Separating the grain
The many fragments will then be separated by weight and size, passing through a very complex series of sieves, or sifters. This is done to isolate the three separate parts of the grain.
Finally, the endosperm passes through very smooth reduction rolls, so that it can be finely milled into white flour.
Step #3: Mixing it back together again
Depending on the type of flour, millers will either blend different endosperm from different types of grain together or add back in a certain amount of bran and germ to the endosperm. These “recipes” create the variations in flour that we buy from the grocery stores.
Most “white” or “all-purpose” flour is made from the endosperm whereas whole wheat flour is produced when all streams of flour, including the germ, bran, and endosperm, are blended together again without any part removed.
Can I mill my own flour at home?
So, now we know how professional millers do it, but can we do it? Yes, we can! You most certainly can mill flour at your home, but… why?
Milling your own flour at home can:
- Give you control over how much endosperm, bran, and germ to use in your baking. You get to create your own “recipe”
- Increase the nutrition of baked goods. The endosperm is the least nutritional part of the grain and unfortunately, most all-purpose flour has the germ and bran removed. When you bake with the germ and bran included, you get all the good stuff grain can offer
- Change the flavor of your baked goods. When we think of “flour” we don’t think of flavor. This is because flour has been commercially milled to maximize profit and shelf-stability. When you switch to fresh milled flour, be prepared to be amazed at the natural flavors of whole grains (Read more about commercial farming here)
But, the problem/challenge is that home-milled flour does not really behave in the same way as traditional store-bought flour.
So, before you start making your own flour, know what to expect from it, be aware of the ins and outs of it, or maybe just test it out using a coffee grinder first!
How do I mill my own flour at home?
You have a few different options for you to start milling your own flour at home.
First you could use a burr coffee grinder to do this, these are usually an ideal option if you are not sure if you want to do this in the long term.
You could also use a food processor, however, you should not do this unless you have an extremely durable food processor.
However, if you are sure that this is something you would like to do in the long term, you can use a home grain milling machine, although be aware, these are quite a hefty investment to make.
Try out a coffee grinder
If you wish to try making your own fresh milled flour, but you are not sure if this is something you want to do long-term, and you are not sure if you want to invest in a flour mill, try out a burr coffee grinder. It grinds coffee by using a set of abrasive surfaces, known as burrs, to crush and grind coffee beans into consistent particle sizes. It’s considered one of the best methods for grinding coffee beans due because it produces uniform grounds.
There are two different types of burr grinders, conical and flat. Conical burr grinders use two cone-shaped burrs that fit inside one another while flat burr grinders use flat burrs that rub together.
Conical burr grinders are a better option for milling wheat because of:
- Uniform grinding: Producing a more consistent particle size, which is crucial for making flour
- Efficient crushing: Wheat kernels are relatively hard compared to coffee beans. Conical burr grinders have a design that allows for a gradual crushing process, which is better suited for breaking down the tough wheat kernels
- Less heat generation: Like with coffee, minimizing heat generation during grinding is important to preserve the flavor and nutritional quality of the wheat
- Adjustability: Many conical burr grinders offer adjustable settings that allow you to control the fineness of the grind
- Less clogging: Wheat kernels can be more prone to clogging in the grinding mechanism due to their hardness and the design of a conical burr grinders reduce clogging
It is super easy and simple to do this and lets you dip your toe into home milling without spending a lot of money on a grain mill. Using a burr grinder is not a long-term solution, as coffee grinders are not meant for grain, but it’s worth trying to see if it’s something you want to purse.
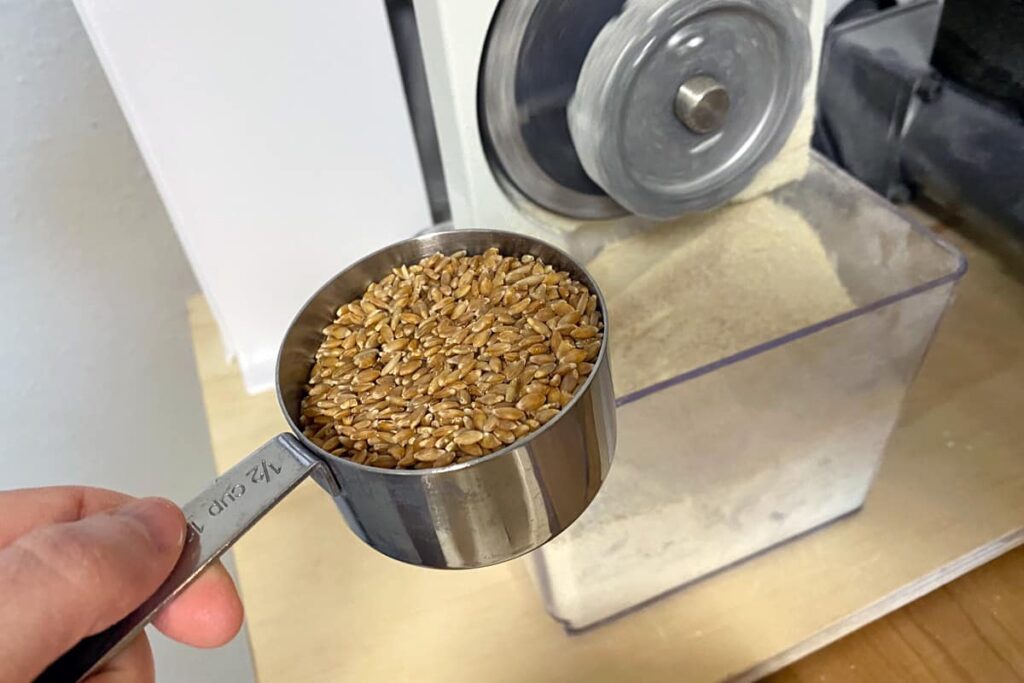
Here’s how to grind wheat berries into flour using a coffee grinder:
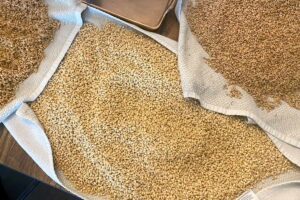
- Get your wheat grain berries and fill up your coffee grinder to the halfway point
- Set your coffee grinder to grind for around 30 seconds.
- Grind for the 30 seconds. Always double-check the flour. If it is not fine enough or too fine, adjust until you’re satisfied with the consistency.
You will not be able to get super fine flour this way, and it won’t always be even, but it does work!
Invest in a grain mill
I go in depth on the different types of grain mills here, but there are several different types of home grain mill options available for grinding various grains into flour or meal. The choice of grain mill depends on factors such as the types of grains you plan to grind, the quantity of flour you need, your budget, and whether you prefer manual or electric operation.
Here are some common types of home grain mill options:
- Stone burr mills: These mills use two horizontally-oriented stones (burrs) to crush grains. The grains are fed between the two stones, and they are ground as they pass through. Stone burr mills avored for their ability to preserve the nutrients and flavor of the grains. They can be manual or electric
- Impact mills: Impact mills use high-speed rotating blades to impact and shatter grains into flour. These mills are generally more affordable and can grind a variety of grains quickly. However, they might produce coarser flour compared to stone burr mills
- Burr mills (steel or cast iron): These mills use two metal burrs, often made of steel or cast iron, to crush grains. They can be manual or electric and are capable of producing fine to coarse flour, depending on the burr settings
- Flaker mills: Flaker mills are designed to flatten grains and create flakes rather than fine flour. They are commonly used to make rolled oats and other flattened grains for breakfast cereals.
- Combo mills: These are mills that combine multiple functions, such as grinding grains and making nut butters. They can be a space-saving option for those who want a versatile appliance.
I own a Country Living Grain Mill, which is a steel burr mill that can sbe used with or without electricity, and can be modified to grind grain, corn, or nut butters.
When choosing a home grain mill, consider factors like the types of grains you’ll be grinding, the quality of flour you want, ease of use, maintenance requirements, and your budget.
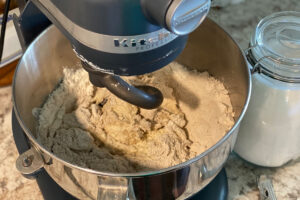
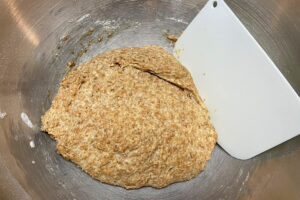
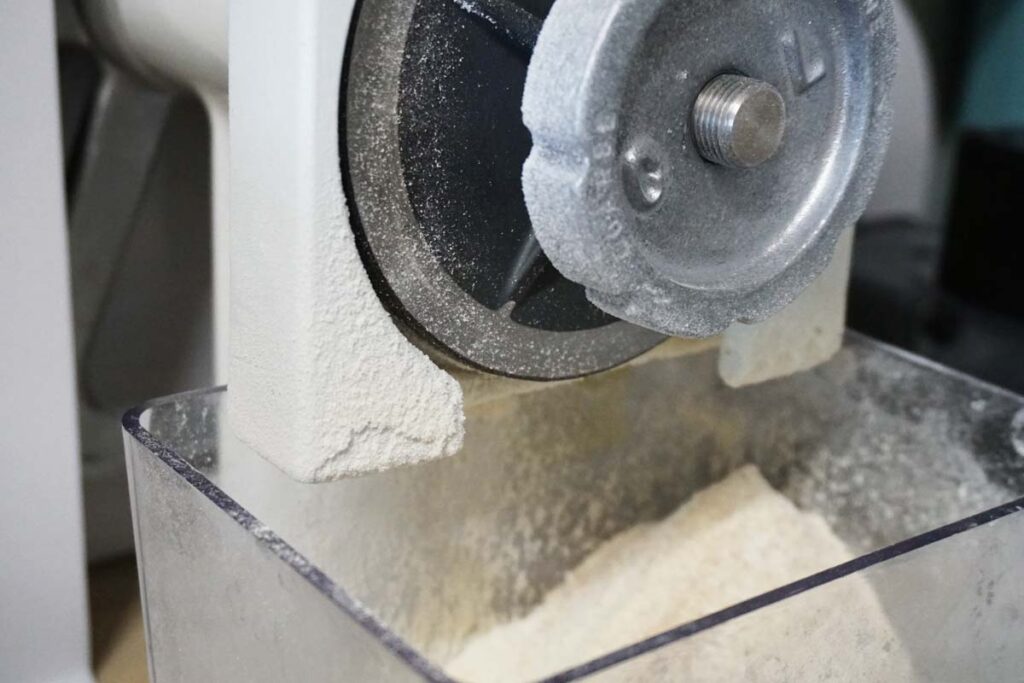
Here’s how to grind wheat berries into flour using an electric mill:
- Choose your grain and put the berries into the hopper
- Adjust the coarseness of the grind. This is more of an art than a science with most home mills, so try it for a few seconds and adjust as needed
- Let it go!
If that seems simple, it’s because it is!
Overall
Wheat grains have been milled for hundreds of years, but technology has come far, you can give it a try yourself if you want to, it leads to delicious results!